Coffee
How to Make a Real Cappuccino Without an Espresso Machine
Author:sana
|
Released:March 29, 2026
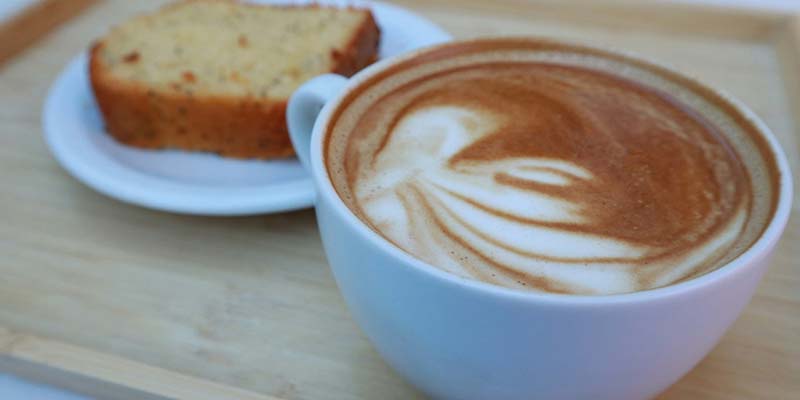
That mix of dark coffee, creamy milk, and thick foam – it’s hard to beat a good cappuccino. Not quite a latte, not straight espresso. When the balance is right, it’s just perfect.
You don’t need a thousand-dollar espresso machine to make one at home. The original Italian cappuccino goes back to the 1930s, before modern espresso machines even existed. People made it with simpler gear. So can you.
What Makes a Cappuccino a Cappuccino
A cappuccino isn’t just coffee with hot milk on top. It’s built from three equal parts: strong coffee (traditionally espresso), steamed milk, and velvety foam. Lots of people get that wrong and end up with something closer to a latte – which has less foam and more milk.
The classic Italian formula: about 25 ml of espresso, 100 ml of steamed milk, and a thick foam layer. Total drink around 5 to 6 ounces. Not huge. If your cup is bigger, you’re adding too much milk and diluting everything. The foam also keeps the drink warm and gives that smooth, silky texture when you sip.
The Ratio That Works
The 1:1:1 ratio of coffee to steamed milk to foam is the gold standard.
Want a stronger taste? Make it a “dry” cappuccino: more foam, less steamed milk.
Like it creamier? Go “wet”: more steamed milk, less foam.For traditional, aim for 2 oz coffee, 2 oz steamed milk, 2 oz foam in a 5–6 oz cup.
One important thing: in a real cappuccino, the milk and foam actually mix with the coffee instead of sitting completely separated. That’s what gives it the creamy mouthfeel.
Choosing the Right Coffee
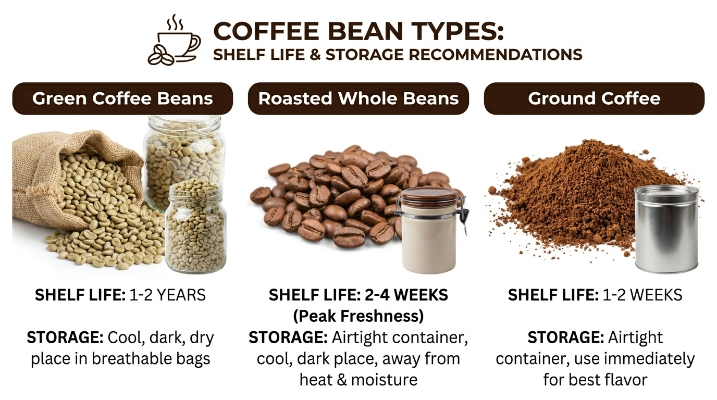
The beans matter – a lot. Medium-dark roasts with notes of chocolate, caramel, or nuts pair best with milk. Brazilian or Colombian blends are a solid choice. They’re sweet and don’t get drowned out by dairy.
If you want more kick, try a blend with 20-30% robusta. It adds body and helps the coffee stand up to the milk. Grind size depends on your brewing method – fine for moka pots, coarse for French presses.
Freshly roasted beans are non-negotiable. Stale coffee loses its oils and complexity, and no amount of frothy milk will fix that.
Which Milk Gives You the Best Foam
More fat equals thicker, richer foam. Whole milk is the best. It froths beautifully and gives you that creamy mouthfeel. Lower-fat milks (skim, 2%) still produce foam, but the bubbles are larger and less stable.
For dairy-free, barista-style oat milk wins. It’s formulated with more fat and protein, so it froths almost like whole milk. Soy works decently but can be trickier. Stay away from coconut or rice milk – too thin, foam collapses within minutes.
Quick tip: always start with cold milk. It froths better and gives you more control over temperature.
How to Froth Milk Without a Machine
You’ve got options. None of them require a steam wand.
Mason Jar Shake (The Cheapest Method)
Fill a clean jar no more than halfway with warm milk (around 150°F / 65°C). Screw on the lid tight and shake hard for 30–60 seconds. The milk will foam up nicely. Tap the jar on the counter a few times to pop large bubbles.
Pour the milk over your coffee, using a spoon to hold back the foam. This won’t give you professional-grade microfoam, but it works surprisingly well.
French Press (My Favorite)
Pour your warmed milk into a French press – leave room at the top. Put the plunger in and pump it up and down quickly for about 30 seconds. The mesh screen aerates the milk and creates dense, creamy foam.
Don’t pump too many times – the foam can deflate if you overwhip. The nice part? You’re already using a French press, so cleanup is minimal.
Hand Whisk (Old School)
Warm milk in a saucepan, pour it into a bowl, and whisk vigorously by hand until frothy. Takes some arm strength and a few minutes of patience, but it works. Use a balloon whisk for better aeration.
Immersion Blender
Fast, but be careful – never submerge hot milk in a sealed blender container (pressure builds and makes a mess). An immersion stick blender is safer; just pulse it in a deep container until the milk froths up.
And if you want to spend a few bucks, a $10 handheld milk frother is probably the best small investment you can make. Takes about 20 seconds and gives consistent results.
Brewing Strong Coffee Without a Machine
You need strong, concentrated coffee. Standard drip won’t cut it – too watery, tastes weak once you add milk.
Moka Pot (Best Option)
Creates rich, strong coffee – the closest you can get to espresso at home. For one cappuccino, use a 3-cup moka pot (actually yields about 2 oz of coffee).
Fill the bottom chamber with water up to the valve, add finely ground coffee to the filter basket (don’t tamp it down), screw together, and put on medium heat. When you hear the gurgling sound, remove it from heat immediately – that’s when the coffee is done.
French Press
You can brew coffee in a French press too, but adjust the ratio. Use more coffee grounds and less water to concentrate the flavor. A ratio of 1:12 or 1:10 (coffee to water) works better than the standard 1:15.
Turkish Cezve (For the Adventurous)
Grind coffee super fine, add water to a cezve, heat until foam rises, remove from heat, let foam settle, repeat a couple of times. This produces a thick, powerful coffee that works well as a cappuccino base.
Instant Coffee (Quick Fix)
In a pinch, dissolve 2 teaspoons of instant coffee in ½ cup of hot water. Stir well. Not ideal, but it’ll do.
Putting It All Together (Step-by-Step)
Here’s a straightforward method using a moka pot and a French press for frothing.
Step 1: Heat the milk
Pour your milk into a small saucepan. Heat it to around 150°F (65°C). No thermometer? Heat until it’s hot but not boiling – steam should just start to appear. Above 170°F kills the milk proteins and destroys your foam.
Step 2: Froth the milkPour the warm milk into a French press. Pump the plunger up and down about 20–30 times until it doubles in volume.
Step 3: Brew the coffee
While frothing, brew your coffee in a 3-cup moka pot. Listen for the gurgle, then pull it off the heat.
Step 4: Assemble
Pour the coffee into a preheated cup (run some hot water through it first). Pour in the steamed milk – use a spoon to hold back the foam if you want clear layers. Top it off with the remaining foam.
Step 5: Serve immediately
A cappuccino waits for no one. It’s meant to be enjoyed hot, while the foam is still fluffy and intact.
If you’re using a Mason jar or whisk, the steps are essentially the same. Just move quickly so your milk and coffee don’t cool down.

A Few Things That Can Go Wrong (And How to Fix Them)
Even with good tools, things don’t always go right.
Foam disappears too fast. Milk was probably overheated or not frothed enough. Heat to just 150°F – never boil. Use whole or barista-style oat milk. Froth for about 20-30 seconds, then tap out large bubbles.
Coffee tastes weak. Your coffee base isn’t concentrated enough. Use more grounds or less water. With a French press brewing, reduce your water-to-coffee ratio.
Lumpy or grainy foam. You whisked too slowly or stopped too early. Be more aggressive with the plunger or whisk. Aim for small, velvety bubbles.
Milk separates while pouring. Let the frothed milk rest for about 20 seconds before pouring. That lets foam and liquid milk settle into layers.
Large bubbles instead of microfoam. Tap the container firmly on the counter 3-4 times to break them down. Swirl the milk gently to smooth the texture.
Fun Variations to Try
Once you’ve got the basic method down, you can play around.
Dry vs. Wet Cappuccino. Dry = more foam, less steamed milk (stronger coffee flavor). Wet = more steamed milk, less foam (creamier, closer to a latte).
Spiced Cappuccino. Sprinkle a pinch of cinnamon, cardamom, nutmeg, or cocoa powder on top of the foam. People have been doing this for over a hundred years.
Vanilla, Caramel, or Mocha. Add a teaspoon of vanilla extract to the milk before frothing, or drizzle caramel sauce into your cup before pouring espresso. For mocha, stir a teaspoon of cocoa powder into the coffee.
Honey-sweetened. A spoonful of honey stirred into the espresso adds a nice floral sweetness that goes really well with whole milk.
Iced Cappuccino. Brew strong coffee, let it cool. Fill a glass with ice, pour chilled coffee over it, and top with cold-frothed milk (shake cold milk in a jar – the foam won’t last as long, but it works). For Greek-style freddo cappuccino, shake hot espresso with ice before pouring.
Practice Makes Progress
You probably won’t get a perfect cappuccino on your first try. That’s fine. The milk might not foam right, or the coffee ratio could be off. Don’t stress. Try different milks, adjust frothing time, tweak how much coffee you use.
The beauty of making it at home? You get to experiment without spending $5 a drink. No rules about when you can drink it either – Italians stick to morning cappuccinos, but you can have one whenever you want.
You May Like
-

-
Coffee
How Long Do Coffee Beans Last A Comprehensive Guide to Freshness, Storage, and Quality
-
Coffee
Home Espresso Cleaning: The Dosage Trick Nobody Tells You
-
Coffee
Co-Fermented Coffee Is No Longer a Niche: Here's What's Driving the Trend
-
Coffee
Unlock Pure Flavor: A Barista's Guide to the Best Manual Coffee Grinder
-
Recipe
Ginger Bread Latte Recipe: Get The Holiday Taste Before It's Too Late